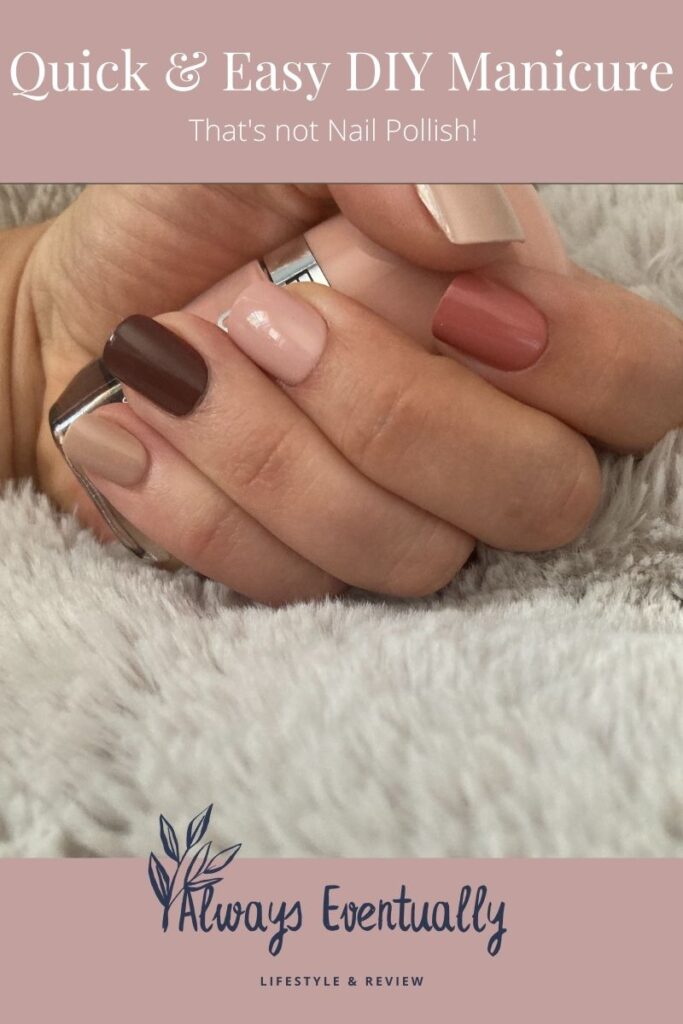
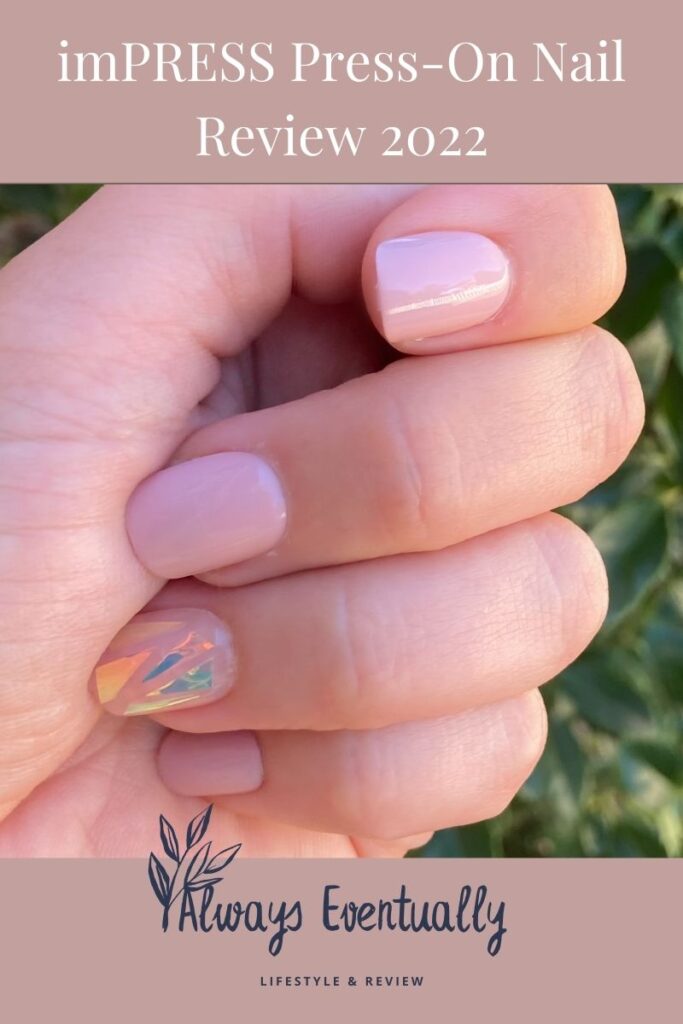
Ready to ditch the polish for good? The long and expensive trips to the salon? I have to admit, I’m pretty obsessed with imPress Press-on nails.
These aren’t your mother’s press-ons! They look great, and they last.
I’m going to take you through how to apply your press-on manicure and make them last, but first, let me tell you why I love them so much!
Also, this post contains affiliate links, which means if you click on a link and purchase something, I may get a small commission at no cost to you. Opinions are my own, but affiliate commission helps me run my blog. No pressure! I just hope you like this post!
- Why I love imPress: Salon Quality DIY Manicure
- How to Apply imPress Press On Nails
- Where to Buy ImPRESS Nails
- How to Make Your imPress Nails Last Longer
- Other imPress Nail Tips & Tricks
- How Long do ImPRESS Nails last?
- How to Remove Your DIY Manicure
- imPress Nails Pros and Cons
- Do imPress Nails stay on in the Pool and in Water?
Why I love imPress: Salon Quality DIY Manicure
There is nothing classier in the realm of manicures than a freshly painted nail. It’s a simple, yet elegant look. So achieving this style should be easy, right?
I finally threw in the towel on regular trips to the salon when they weren’t able to achieve the look I was going for. Gel manicures were my favorite, but I have oily nail beds. So a gel/shellac manicure would often peel off in less than a week.
After that, I decided to try a thin layer of acrylic under the gel polish. But they still didn’t look right. The results were often chunky and too long. I hated the uneven gobs of goo under my polish. Yet every time I asked the salon to go thinner with the acrylic, I left with chunky, fake-looking nails.
That’s when I decided to try imPress, and let me tell you: these press-ons bear the name imPress for a reason.
They look like a freshly polished salon manicure at the fraction of the price and time commitment. After one application I was hooked.
So much so, that I decided to wear them on my wedding day. Despite the numerous compliments I’d received since I began wearing the press-ons, I knew they were the real deal when my bridal makeup artists complimented me on my wedding nails! He was shocked when I admitted they were press-ons.

How to Apply imPress Press On Nails
This DIY manicure couldn’t be easier. Each box of imPress Press-On Manicure comes with 30 nails in various sizes, an alcohol prep pad, a mini nail file, and a small orange stick. It has everything you need for an easy, at-home manicure. (See my tips below to make them last longer!)
So to apply, you’ll simply:
- Select the right size for your nails.
- Prep your nails with the alcohol prep pad (and use extra glue if you have oily nail beds like me–see below)
- Peel the clear tab off the inside of the nail to reveal the adhesive.
- Press the imPress press-on onto your nail.
And that’s it! Each nail has a slight ridge on the top, which I assume is from the manufacturing process. I just gently file that off because it bothers me, but you have to look close to see it. So you might not care.

Where to Buy ImPRESS Nails
You can find imPRESS nails pretty much anywhere, including grocery and drug stores. Or you can use one of my affiliate links sprinkled throughout this site or here (no pressure whatsoever!)
How to Make Your imPress Nails Last Longer
imPress nails are designed to last, but I make mine stay on longer with the following tips:
Use nail polish remover to make your press-ons stay on longer
Before you apply the nails, quickly prep them with nail polish remover to remove any excess polish or leftover glue.
Gently Buff your Nails with a Nail File or the Rough Side of a Buffer for Longer Lasting Press-ons
After you’ve removed any leftover polish and glue, gently buff your nails with a nail file to create an uneven surface. This will help the glue adhere better.
Use Rubbing Alcohol to Make imPress Nails Last for Weeks
Next, and before applying each nail, rub the nail you intend to apply the press on to with a bit of rubbing alcohol. imPress nails come with an alcohol packet, but I find this isn’t enough. I keep a bottle of rubbing alcohol next to me and swipe it over each nail before I apply the press on.
Add a Coat of Nail Glue to Help imPress Nails Stay On
Each imPress nail is coated with an adhesive, so there is no need to use nail glue for most. But if you are like me–with oily nail beds–or if you just want your imPress nails to last longer, apply a coat of nail glue before applying each nail.
Here’s what I use (affiliate link). It applies just like nail polish, so it’s easy to “paint” it only your nails before applying the press-on. The only downside is that it loses some of its adhesion if it gets old. But at the price, you can’t beat it.
Other imPress Nail Tips & Tricks
Choose the Smaller Nail if You are Between Two Sizes
Each imPress Nail has the size written on the clear tab that you pull off before applying the nail. (Once you select your sizes, you can write them down so you only have to do it once!) If you are between two sizes, select the smaller size. It will look more natural and stay on longer.
Carry a Bottle of Glue with You
If a nail pops off, which is pretty unusual, you can put it back on in a snap. Just carry a bottle of the Kiss nail glue I recommended above in your purse.
Again, this won’t happen often. I usually have to soak mine in warm water when I’m ready to remove them. But if you are going on vacation, you should bring a bottle with you.

How Long do ImPRESS Nails last?
Your press-ons should last at least a week. Mine usually last around one to two weeks depending on what I’m doing. I work with my hands a lot, typing and doing DIY projects. So you might get yours to last longer.
I’ve seen postings claiming that they can last for up to a month, but I prefer to change my manicure about once every one to two weeks anyway. So imPress lasts the perfect amount of time.
How to Remove Your DIY Manicure
Removing your imPress manicure is simple. Just soak your nails in a bowl of warm water for a few minutes. Then gently peel them off.
You can gently slide one of the leftover nails between your nail bed and the press-on for easy removal (after soaking) too!
imPress Nails Pros and Cons
ImPRESS Nails Pros
- The press-ons come in a huge variety of colors and designs.
- They are super reasonably priced, usually starting as low as $5.99 for solid colors.
- You can do them yourself in about 10 minutes, so no more waiting at the salon.
- They won’t ruin your nails.
- You can fix your DIY manicure yourself!
ImPRESS Nails Cons
- Not for Super Hard Labor: The press-ons are on the thinner side, which I actually think is a good thing. Again, I hate thick nails. They look inelegant. But I recommend putting them on after if you have plans to do some serious gardening or the like.
- You have to do them yourself: Something I just don’t feel like it, in the same way I don’t feel like putting on makeup or washing my hair. But it beats going to the salon.
Do imPress Nails stay on in the Pool and in Water?
Yes! You can absolutely swim with imPress nails. I recently wore them on vacation where we were in the water almost every day. Not a single nail came off.
imPress nails are similar to a salon manicure in that you can shower and do all the things you’d normally do.
Did you like imPRESS Press-On Nail Review 2022: Salon Quality DIY Manicure?
If so, connect with me on Instagram! And if you are a current or future law student, check out my other project here!

